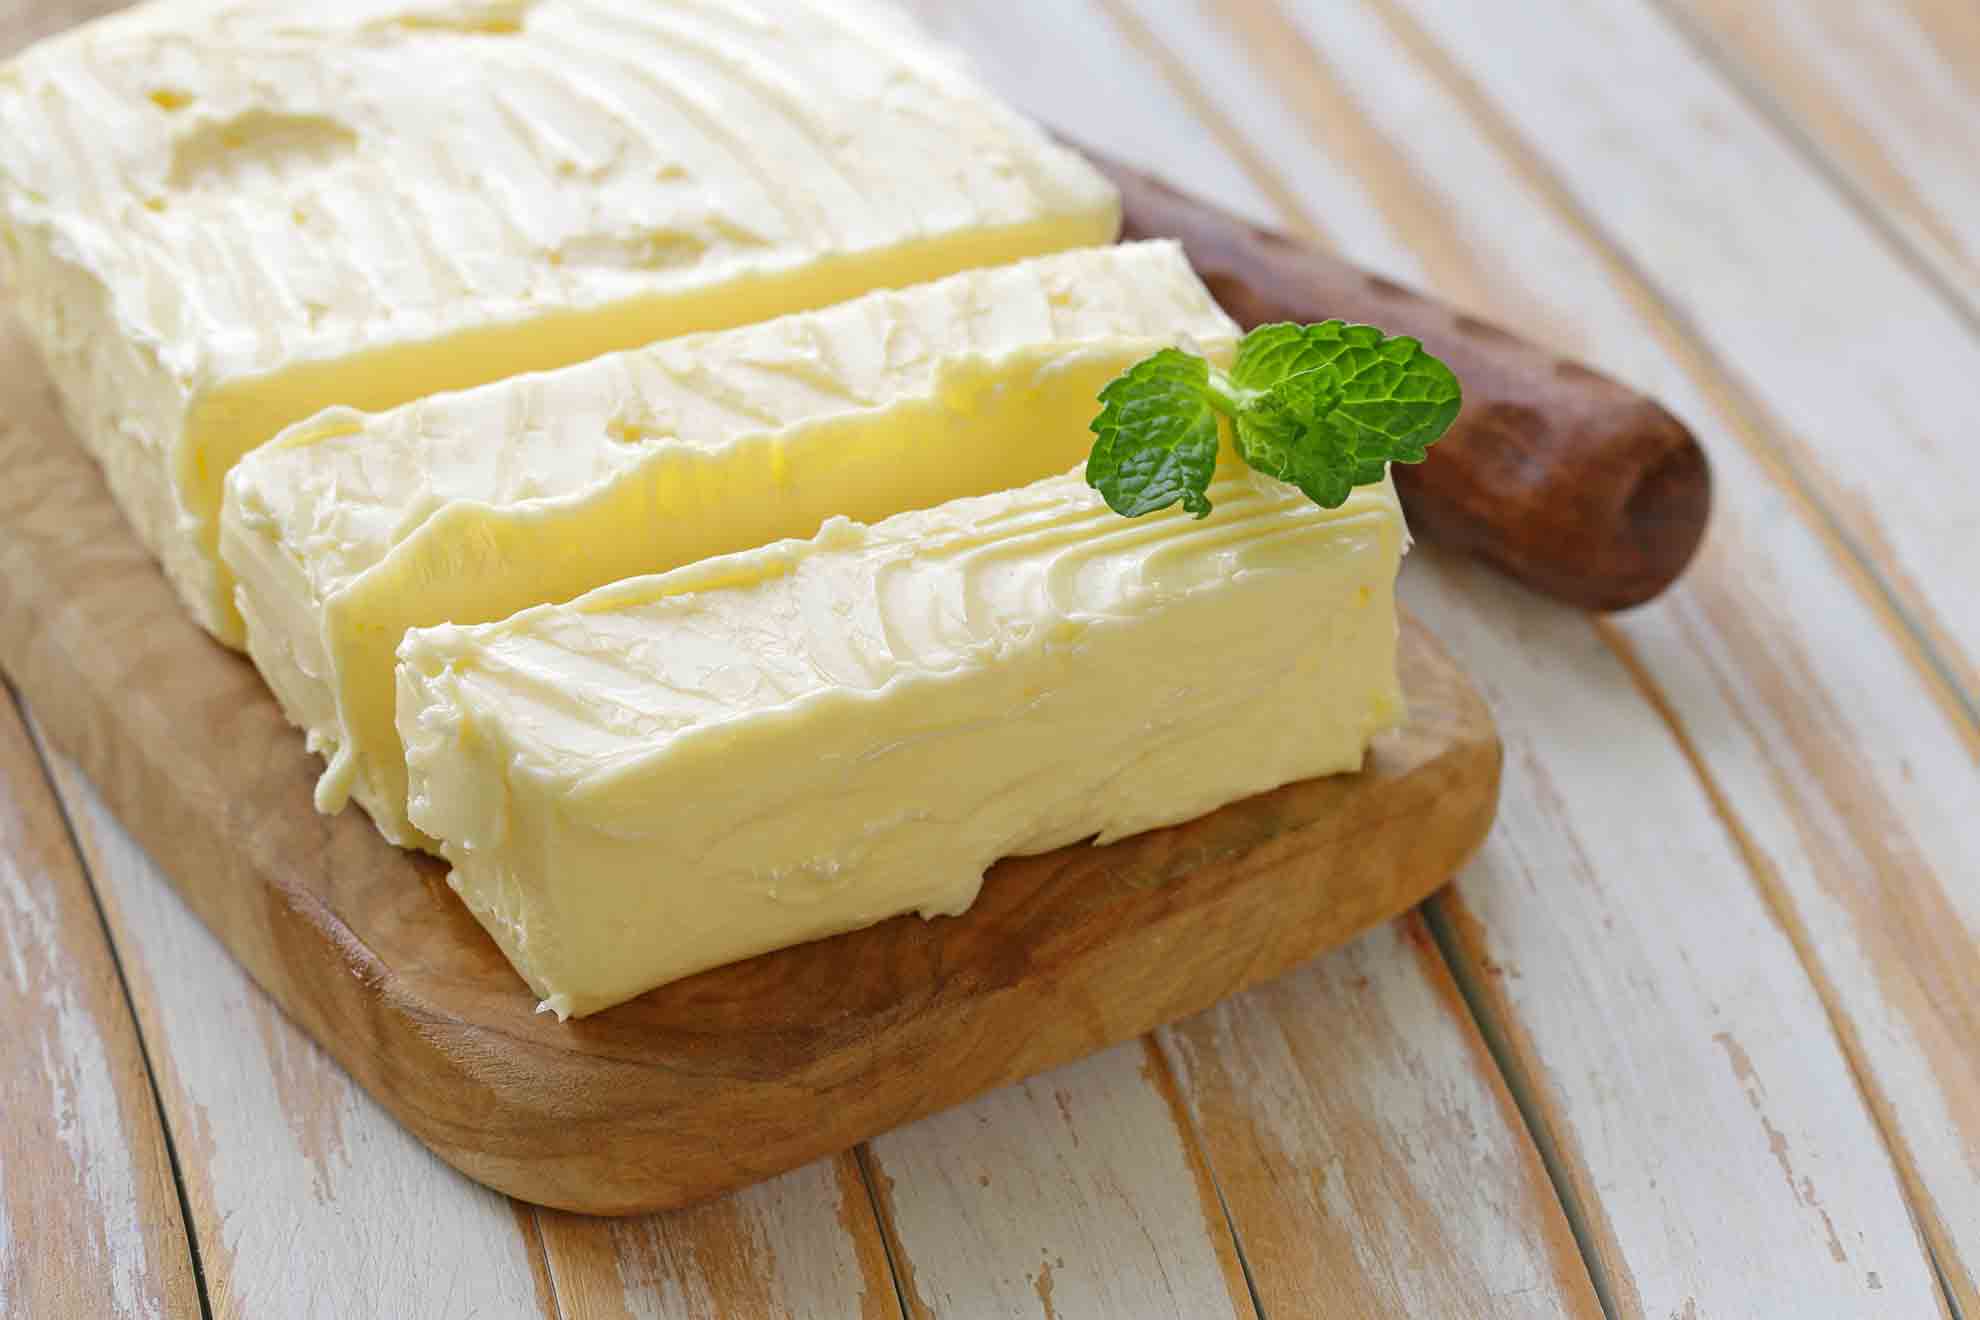
How to Make Home Made Butter With Your Blender
Treat yourself to some creamy, luxurious home made butter at home. You’ll be surprised how easy it is! Eat up those leftover hot cross buns with a knob of this creamy delight.
You have to use a cream with at least 35% fat to make the butter, so don’t go for the light version. Heavy cream is your best bet. The better quality the cream the better the butter! Homemade butter will keep for about a week. If you want it to have a more savoury taste, add a few herbs like thyme or a bit of crushed garlic to put on fresh bread! This butter is great for spreading, especially with the flavours that you want. However it’s not suitable for baking.

You’ll need:
- 500ml of heavy cream
- 1-3 teaspoons sea salt (to taste)
- A good blender
- ice cold water
Step 1.
Leave the cream out of the fridge until it is at room temperature or slightly warmer. Pour the cream into your blender. Keep blending or about 5-10 minutes, it should pass whipped cream and start to separate into little chunks. This is the cream separating into butter and buttermilk.
Step 2.
Let it sit for 5 minutes to the butter separates even further. Pour the liquid (buttermilk) into a jug or glass, using a spatula to hold back the butter chunks. Add the ice cold water to the butter, just enough to cover the butter layer. Pulse the blender a few times until it combines slightly. Then let it sit again, then pour out the buttermilk once again using the same method. Repeat this using the cold water one more time.
Step 3.
Add your salt to taste and pulse in the blender to combine. Remove the butter once you are happy with the taste and store in a ramekin or butter tray. You can also wrap it up in waxed baking paper and store it in the fridge to harden in your desired shape before placing on the butter tray.